 AMC
AMC
 Chrysler
 Dana
Dana
 Ford
Ford
 GM
GM
 Isuzu
Isuzu
 Nissan
 Suzuki
 Toyota
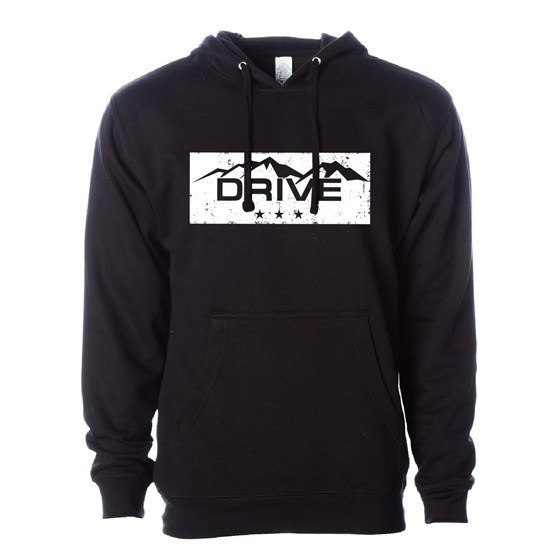
4WheelToHeal Charity T-Shirt Design Contest
In conjunction with ICON Vehicle Dynamics and Dynatrac, Yukon is supporting Trail Hero and 4WheelToHeal charities by hosting a T-shirt design contest with participants ranging in age from 4 to 15. 4WheelToHeal is a non-profit organization dedicated to serving wounded and disabled veterans of all branches of military service. Their mission is dedicated to taking wounded and...